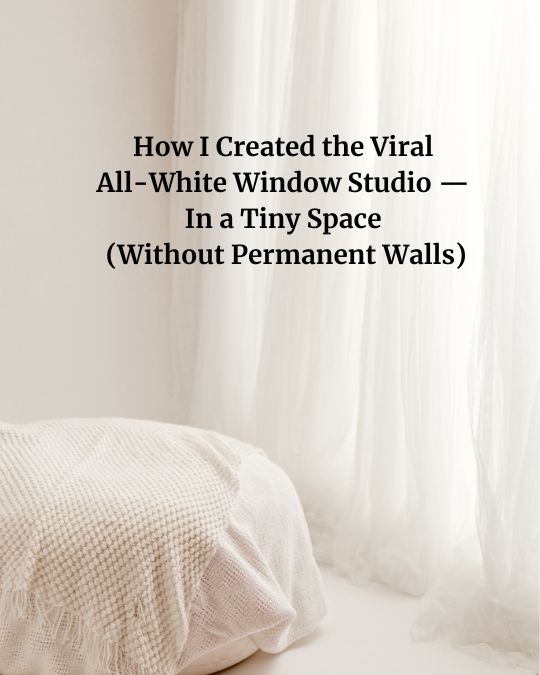
0 How I Created the Viral All-White Window Studio — In a Tiny Space (Without Permanent Walls)
- For Photographers
- by Meg Tomlinson
- 13-05-2026
Being a professional in this industry for 10 years now, I’ve learned there’s room for everyone — no need for gatekeeping. Inspiration can come from anywhere, and I hope you’ll find some of your own through this blog.
If I can share a small hack or budget-friendly idea to help another Photographer create something beautiful for their clients — especially without spending thousands of dollars — I’m ALWAYS going to share.
Because after all, creativity, trends, poses, editing styles or marketing ideas aren't owned by ANYONE. A lot of people are creating similar things because that’s simply how creative industries work!
And lately, everyone’s been loving the viral all-white “window studio” look. Soft whites, dreamy curtains, glowy light. It’s timeless and simple. I recently had a client request for this style which is not usually my norm, but I'm always excited to try something new if I can accommodate the request.
Keep reading because in this blog I will show you how you, too, can create your own all white set up easily, with just a few inexpensive items!
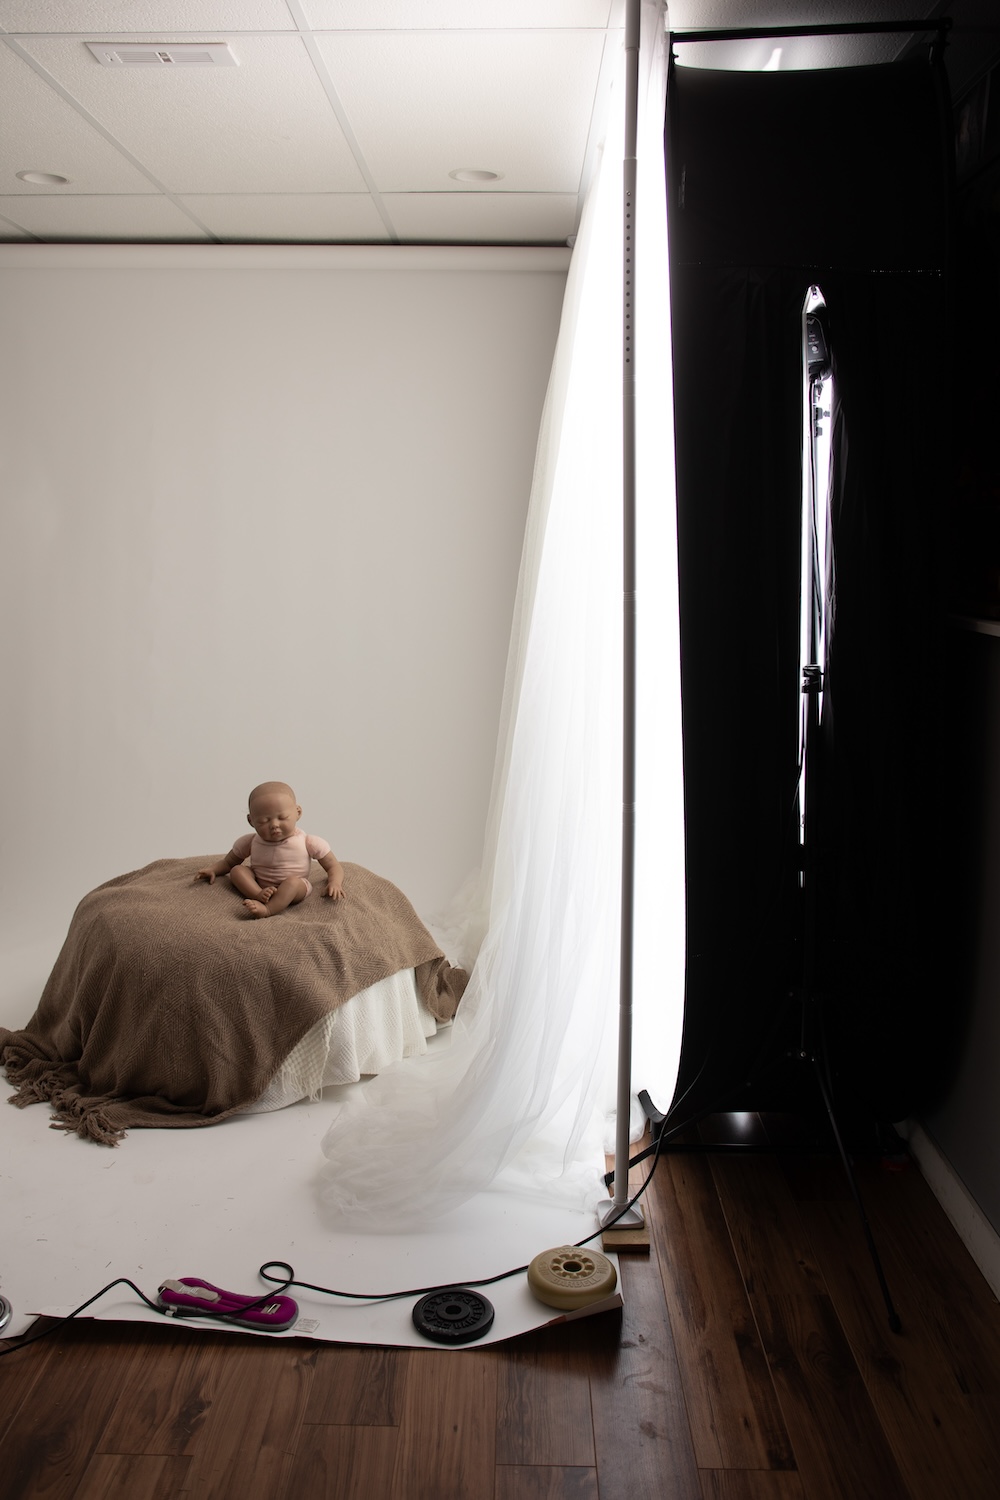
The space I shoot in isn’t huge by any means ( roughly 200 sq ft.) So having a dedicated lifestyle room just isn’t realistic for me. Learning how to transform a small space has honestly become one of my favorite creative challenges. I love finding little hacks and ways to make one area work multiple ways.
Personally, I hate feeling boxed into one specific style all the time. I love stretching my brain creatively and figuring out ways to make things work without needing a full renovation, giant budget or massive studio space. You've got to be a chameleon of sorts in this industry!
Here’s exactly how I created my easy, removable, all-white window studio setup , complete with links:
Step 1: Create a Room Without Building Walls
The first thing I needed was a way to create the illusion of a room. It had to be easily removable, affordable, practical, usable in a small studio and portable if needed.
I found the perfect solution with this room divider/backdrop stand from Amazon:
Room Divider Backdrop Stand
The best part? You could literally set this up anywhere. It functions like a backdrop stand while helping create the structure of a room.
It's so perfect for those renting studio space, those with small studios, or anyone who doesn’t want to construct permanent walls.
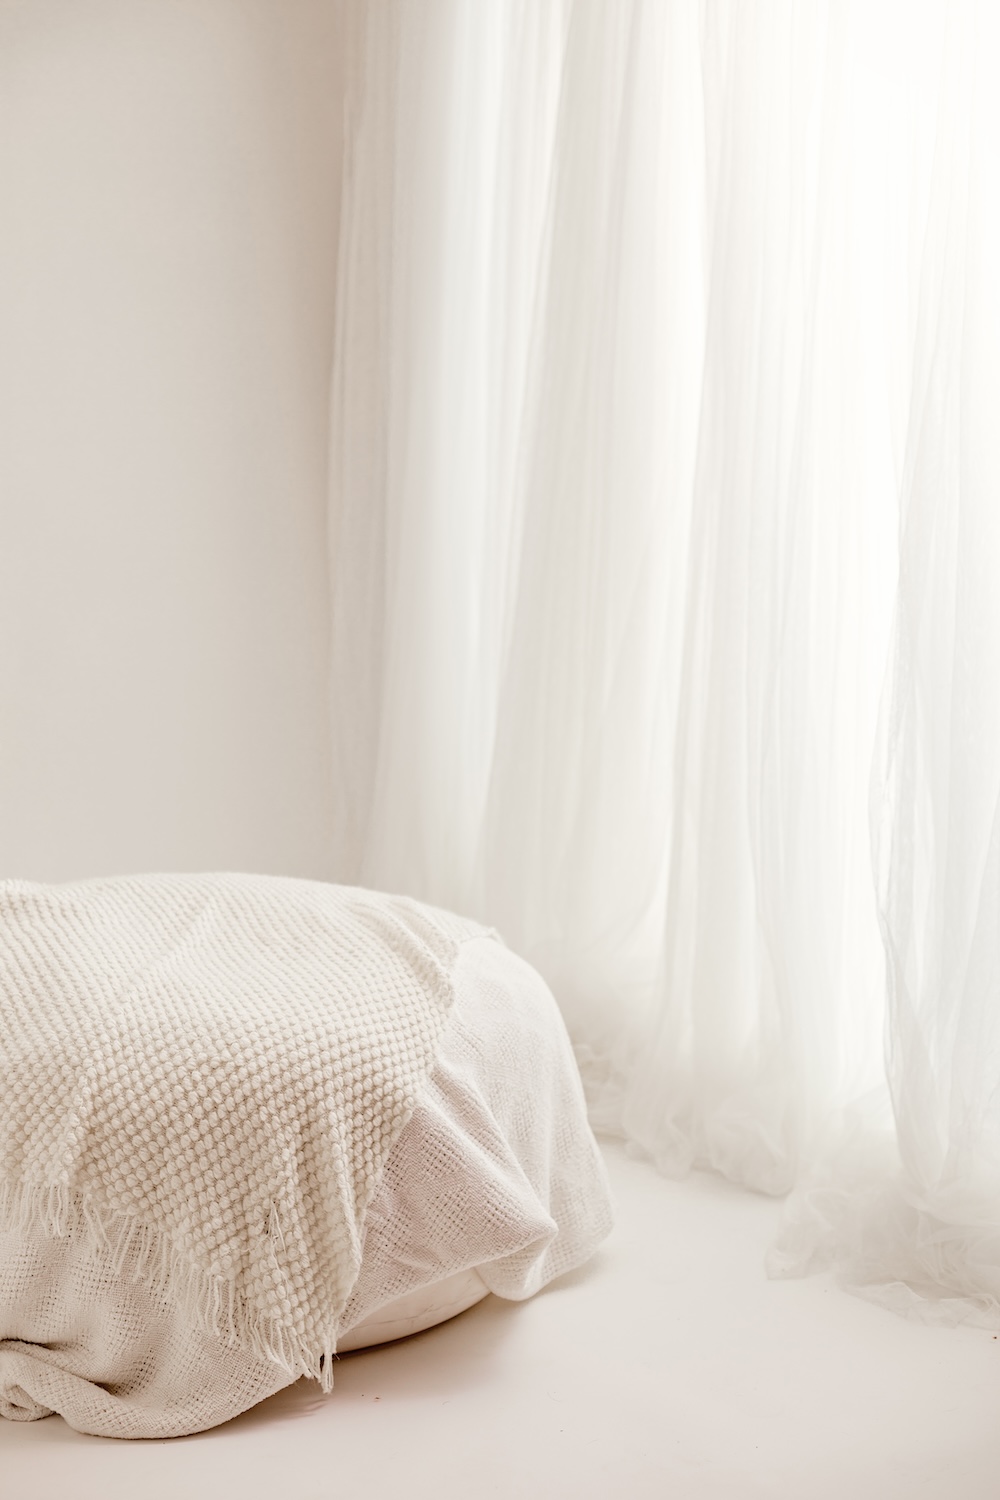
Step 2: Use LOTS of Sheer Curtains
Personally, I prefer not to see my direct light source behind the curtains. I want the light to feel soft, natural, and dreamy almost like real window light.
That’s why I LOVE the IKEA Lill lace curtains.
They’re inexpensive, lightweight and diffuse light beautifully. The trick is using a lot of them.
I probably use around 15 pairs in my setup to really soften and spread the light evenly.
The layered look also adds so much texture and movement to the space.
Step 3: Fake a Giant Window
Now let’s talk about the real magic: the light wall.
A lot of photographers creating this look are using mounted LED wall panels. But if you don’t have a usable wall or you need flexibility, this modifier will completely change the game for you.
I use the Angler Illuminated Background in the 6x7' size.
It’s basically one giant light modifier that works with the strobe light you already own. It creates the softest, most beautiful diffused light and is great for backlit shots!
What I love most about it is it comes in multiple sizes to fit ANY space, folds flat, and is totally transportable and fairly inexpensive.
Step 4: Add a (White) Seamless Backdrop
Last but definitely not least: your backdrop/wall. This will create that clean, seamless, airy look that makes the entire setup feel like a real room.
For my setup, I used the 7ft Savage Seamless Paper in Super White.
You'll want to go as wide as you can to get the the most usable shooting space.