
0 Noisy Einstein Light? Replace the fan!
- For Photographers
- by Meg Tomlinson
- 03-06-2026
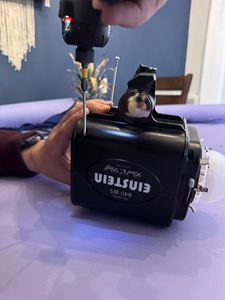
If you’ve been using a Paul Bluff Einstein strobe light unit for some time now, you may notice it getting noisier over time. The unit’s inner cooling fan is the likely culprit. Dust build-up, or a worn bearing can cause vibration or whining sounds when running that are especially noticeable during quiet studio sessions.
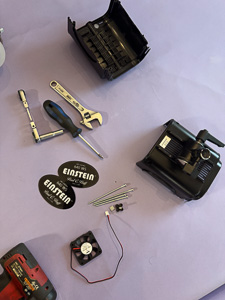
WHAT YOU’LL NEED:
- Replacement fan (matching voltage, size, and connector)
Find the one I used here: https://a.co/d/b5LhUfC - Small Phillips screwdriver/Cordless drill
- Compressed air
- Clean workspace
- Gloves (precaution for removing bulb)
BEFORE STARTING : Power down and unplug unit fully. Before opening, ensure unit is fully cool.
STEP 1:
Using a Phillips head screwdriver, start by removing the four case-half screws - they’re long so you may want to use a cordless drill for these! Next, lift the lower case half off, exposing the inside of the unit.

(Slide the Einstein Logo pieces out and set aside.)
STEP 2:
Gently lift entire inner components out of lower plastic case half. Remove back button/screen panel (buttons may fall out but are easily put back in again later, so just set these aside as well).jpg)
.jpg)
.jpg)
.jpg)
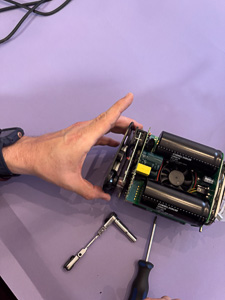
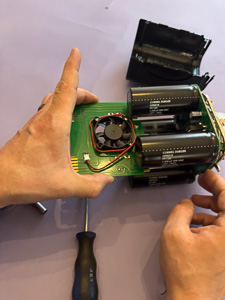
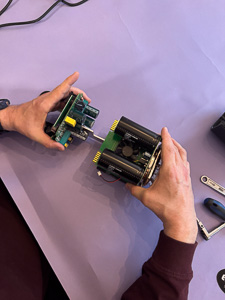
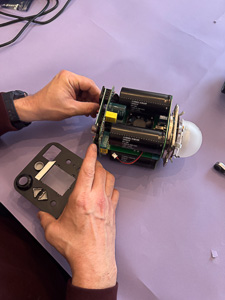
STEP 3:
In this step, we will remove the middle circuit board with the fan attached. Do so by pinching the circuit board in one hand and holding the back end of unit with your other hand. A very slight rocking motion while gently pulling can help ease the connections apart. Do not bend or forcefully pull! Repeat to remove from other end.
.jpg)
STEP 4:
Wearing gloves (I used silk here) remove modelling bulb from circuit board. Reason for removing is as a precaution while handling, as oils from your hands will cause bulb to burn out !

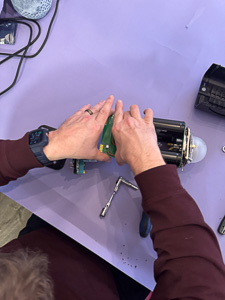
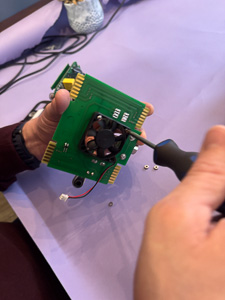
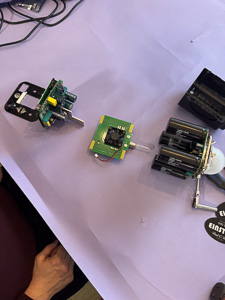
STEP 5:
Remove 3 mounting screws from fan and circuit board. Unplug fan connection.
.jpg)
Install new fan ensuring fan is mounted the correct direction - as shown in photo with label facing down. Coil excess wiring around the outer perimeter of the fan and plug back in to circuit board.
.jpg)
.jpg)
*Notes: I left lock washers for mounting the fan out due to clearance issues. Also had to gently shave a bit of the sides in the plastic off the fan to fit in between the capacitors — this may be due to possibly not using the 100% correct fan as I did not purchase directly from Paul Bluff but hey - sometimes a little DIY is worth saving some $$ !
You are now ready to begin reassembling the unit.
Repeat steps 1-5 in REVERSE ORDER — don’t forget your buttons and logo panel!!!!!
I hope you found this tutorial useful, and it helps inspire you to take it upon all Photographer’s to fix their own noisy Paul Bluff Einstein light (on a budget too!)